
My sister mentioned to me that she would love a to-do board to put important papers, bills, notes, etc. I told her I had seen a post from my favorite blog, The Inspired Room, and I would make it happen. So, I started looking at different blogs that had a DIY version and made a plan to make my own.


First, I had my dad cut me a 22x28 piece of sheet metal (magnetic). My dad being a welder comes in handy pretty often... :)

Next, I rolled on (with a tiny roller) 3 coats of Chalkboard paint. I did find out during my online research that Chalkboard paint and Magnetic paint do not work together and the magnetic paint won't work. (So, if you are trying this yourself don't try that route.)


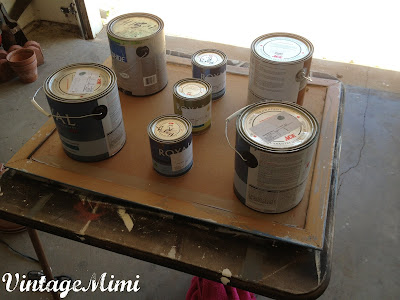
Then, I primed, painted, sanded, and glazed my frame.
After letting the chalkboard paint and the frame paint dry completely; I used LiquidNails to glue the sheet metal and frame backing in and together. I also topped off the secureness by screwing in 8 small screws to hold the backing in place. I used two heavy duty picture hangers to hang it.

The last part of the project was vintage (of course), unique magnets. My mom and I went through all the costume jewelry we have from great-grandmothers and found some fun clip-on earrings and broaches that were perfect.
I got this idea from a blog post I came upon while researching this project...


I used E-6000 to attach the magnets to the earrings and broaches.


Now, that I know how to do it I will be making one for myself and one for my mom...So, more to-do/organization boards to come...

;) Mimi
Thanks for all your hard work! We really appreciate it!! William
ReplyDelete